")
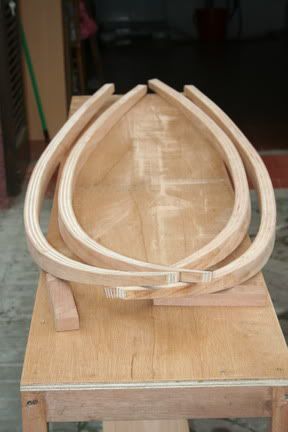
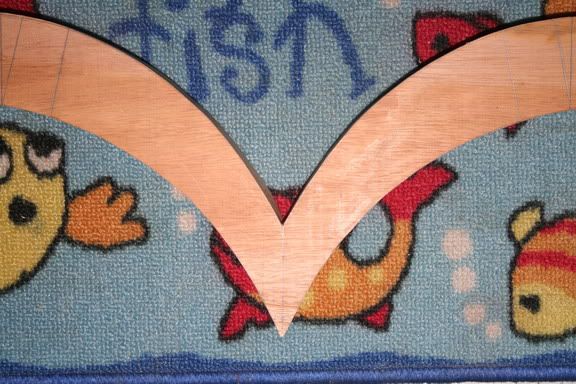
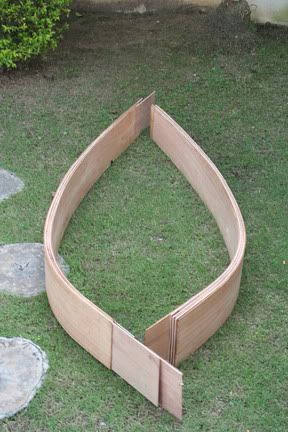
First off, the newly glued up rail stock following the planshape of the board:
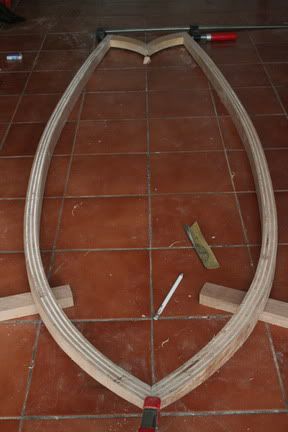
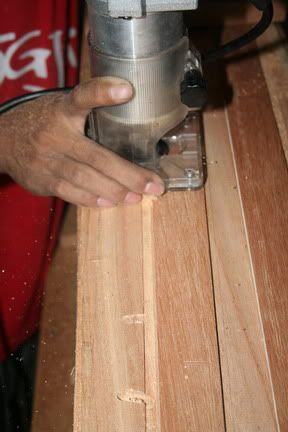
Next off, as Jon suggested, I used the little trimmer router to follow the template of the rail rocker, taking tiny little cuts. The template was cut out of 1/4" ply and I took a additional 1/8" off the outline all round to compensate for the sleeve on the router guide. My javanese mate Eko is holding the router. This is the closest I've ever come to getting a photo of him. He usually runs a mile if he sees the camera :
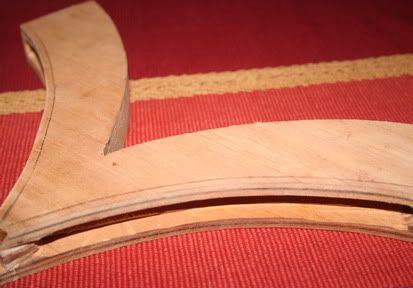
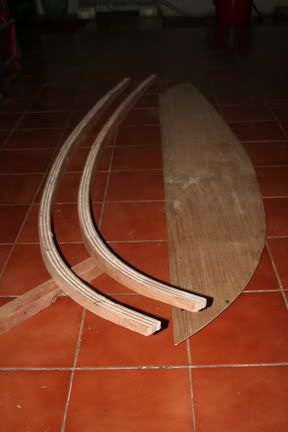
... and voila! Two starboard rail blanks cut out of the stock. I could probably have got 3 out of it but was a bit worried about supporting the router if cutting near the edge of a plank so I opted for safety and only did 2. The rails you see in the photo have got about 4" of additional waste each end which needs to be cut off... the board won't actually be this long.
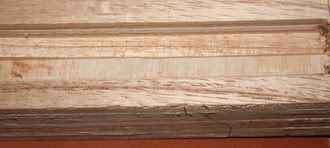
Profile view of a rail blank:
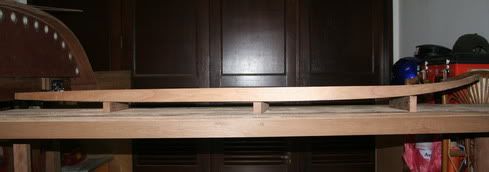
Looks kind of skinny, but don't forget this is only the rail. The deck will be quite rolled so the profile along where the stringer would traditionally lie will retail some volume.
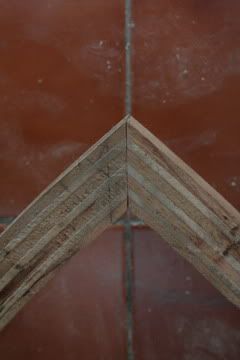
Close up of the rail:

And that's it. Now got to cut the port rail blank. Thanks again for the support and ideas everyone!

")